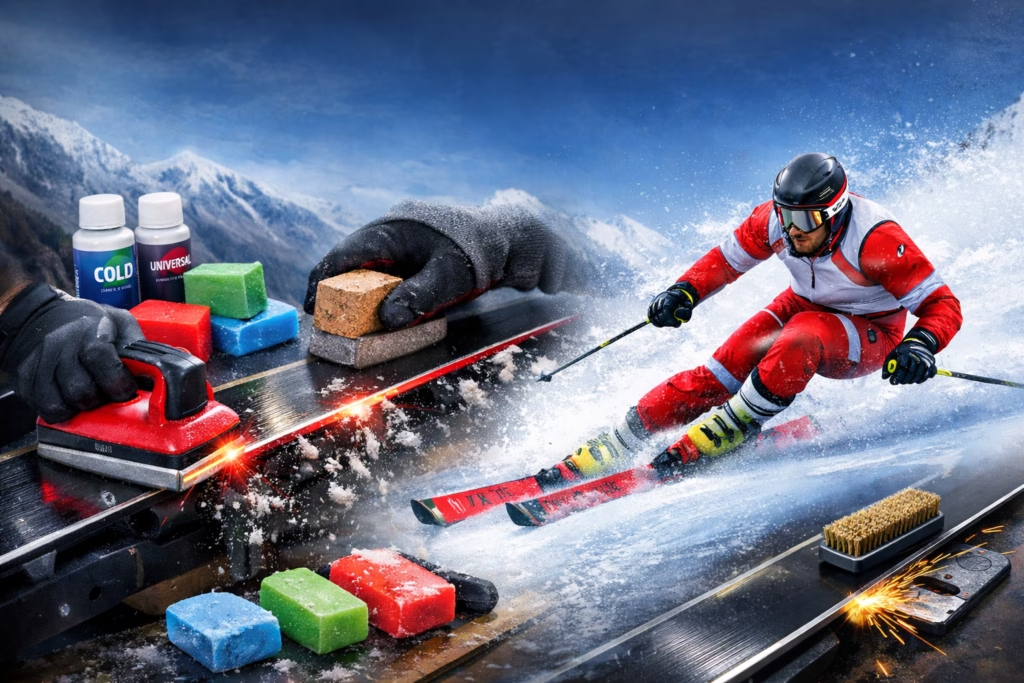
From choosing the right wax to achieving the perfect finish: We show how optimal ski preparation ensures maximum speed and better performance.
STEPS 1+2: The first step is to remove all old wax from your skis at the start of the season. The best way to do this is to scrape the wax off with a plastic blade using straight, even strokes. The second step involves removing any hardened areas on the edge using an edge sharpener or an aluminum oxide stone. The aluminum oxide stone can also be used to grind away any rust from the ski edge.
STEP 3: When sharpening the edges, the burr angle can vary depending on your preferred slope and skiing ability. Generally, an angle between 88 and 87 degrees is set. As a rule of thumb: the greater the deviation from a right angle, the more aggressive the ski (or snowboard). However, this also means that sharpening will be required more frequently.
STEP 4: Use a rubber abrasive to slightly soften the extremely sharp edges at the front and back. This will prevent the skis from catching an edge while skiing.
STEP 5: Before waxing, the ski base must be cleaned with a brush. Alternatively – or even better, additionally – special base cleaning products that remove old wax can be used.
STEP 6: Now it's time for the actual waxing. Waxes vary, and many are now biodegradable. For waxing to be truly effective and for the subsequent speed to be optimal, it's crucial to apply a sufficient layer of wax. This is the only way to prevent the base from burning during ironing.
STEP 7: Heat the waxing iron to the correct (!) temperature for the specific type of wax and then slowly and steadily pull it across the base. Do not apply downward pressure. The ideal gliding direction is from front to back. If the iron practically floats over the base, then the temperature and wax layer are sufficient. Harder waxes – generally for colder snow – require a higher iron temperature.
STEP 8: Once the wax has cooled, scrape it off with a plexiglass blade. Wax is never on the surface of the ski, but always inside the ski base. While metal blades are available for amateurs, plastic blades are less risky – and certainly not a bad choice. Don't forget to also clean the sidewalls of any wax drips.
STEP 9: In the final step, the base is brushed. Using a copper brush, even strokes parallel to the direction of travel expose the base structure. Of course, other brushes are available, such as those made of steel, but these usually require more experience. Nylon brushes are used to polish the running surfaces. For particularly fast skis, the base can be further polished with chemicals to increase speed. Caution: Fluorinated polishes have been banned for environmental reasons for the past two years.